A tiny fabric remnant can be too good to discard and too small to sew. Framing a few shapes lets color and texture do the work. Keep the composition simple so the different fabrics have room to be seen.
Images are styled inspiration, not step-by-step documentation. Your finished piece may look different.
ONE STEP AT A TIME
Let’s make it.
Choose three fabrics
Pick one dominant color, one quieter fabric, and one accent. Check the scraps are clean and dry. If the fabric needs pressing, follow its care instructions before you begin cutting.
Prepare the backing
Cut a piece of heavy card to fit the frame. Draw a very light border to keep the design away from the edges. Arrange a few paper shapes first if you want to test the balance without cutting fabric.
Cut bold shapes
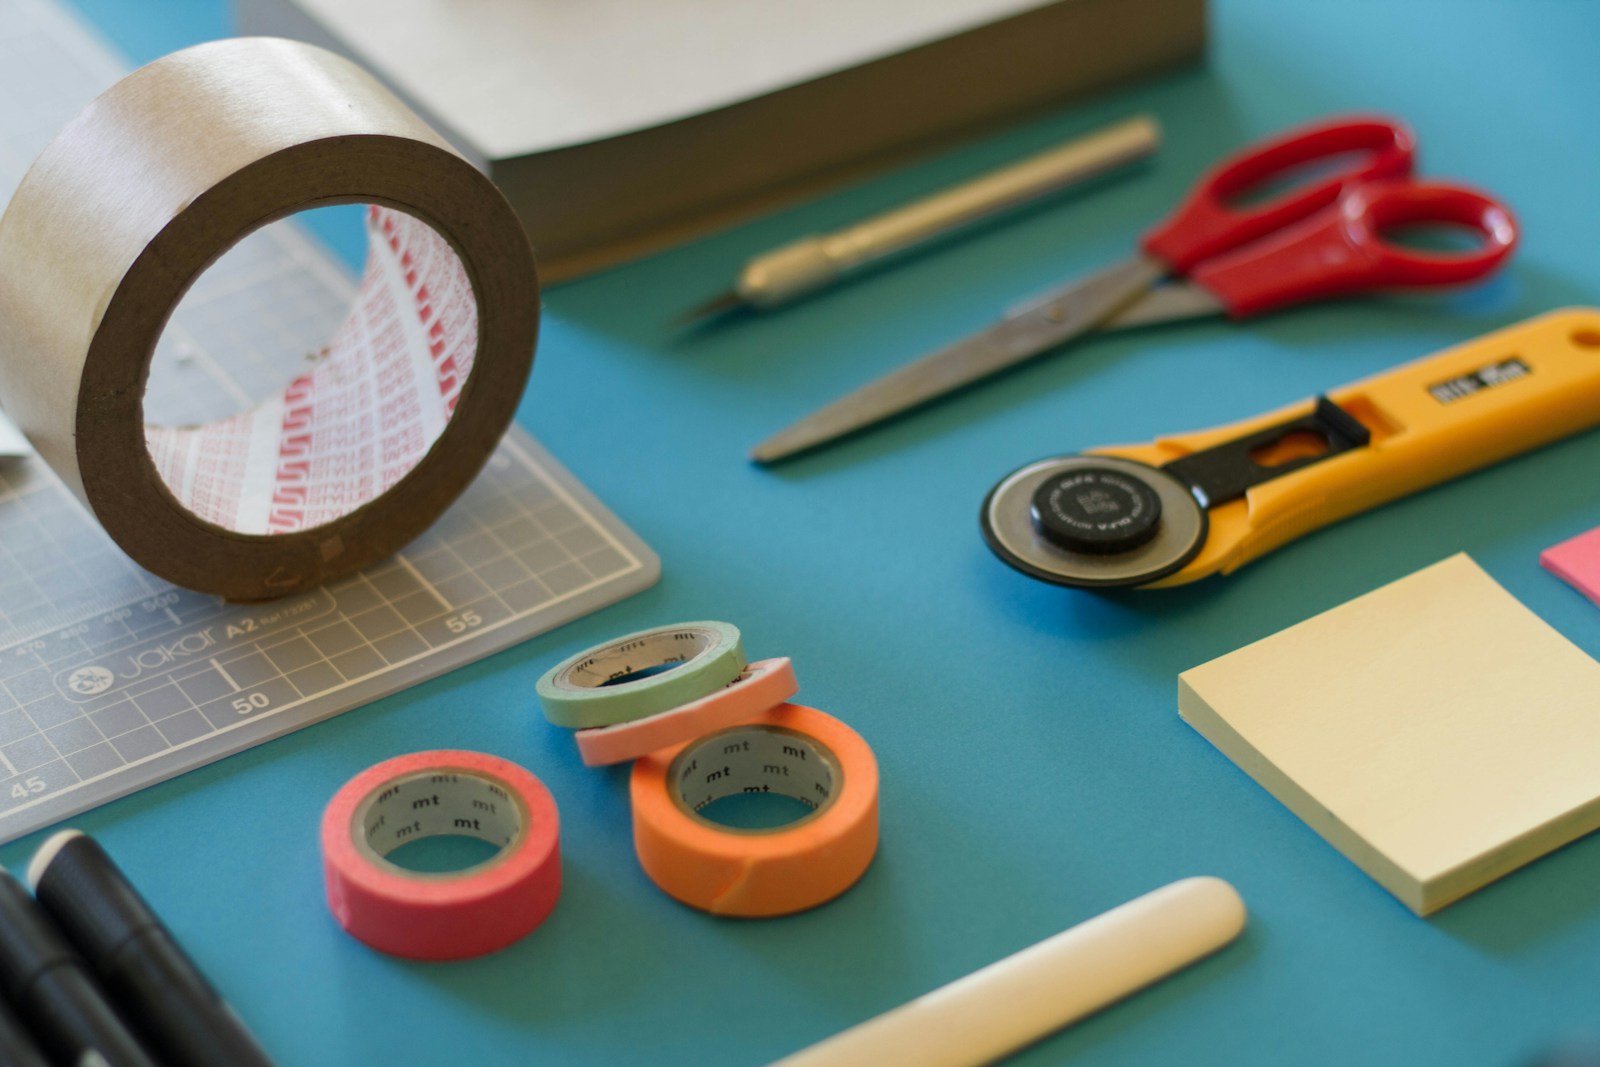
Start with rectangles, broad arches, or large circles. Use sharp scissors carefully and turn the fabric rather than forcing a tight curve. Frayed edges can be part of the design, but remove long loose threads.
Mount each layer
Test your adhesive on a spare piece of fabric and allow it to dry. Apply sparingly according to the label, keeping it away from visible edges. Attach the largest shapes first and let them set before adding smaller accents.
Frame with a little space
Once fully dry, fit the artwork into a frame that does not compress bulky layers. Check that the backing closes securely. Display it using hardware appropriate for its weight and your wall.
A LITTLE HELPFUL KNOW-HOW
A fabric with a busy print often works best as the smallest part of the composition. Let a quiet solid color occupy more space.
Enjoy it. Take care of it.
Keep away from direct sunlight and moisture. Do not wash the assembled artwork.