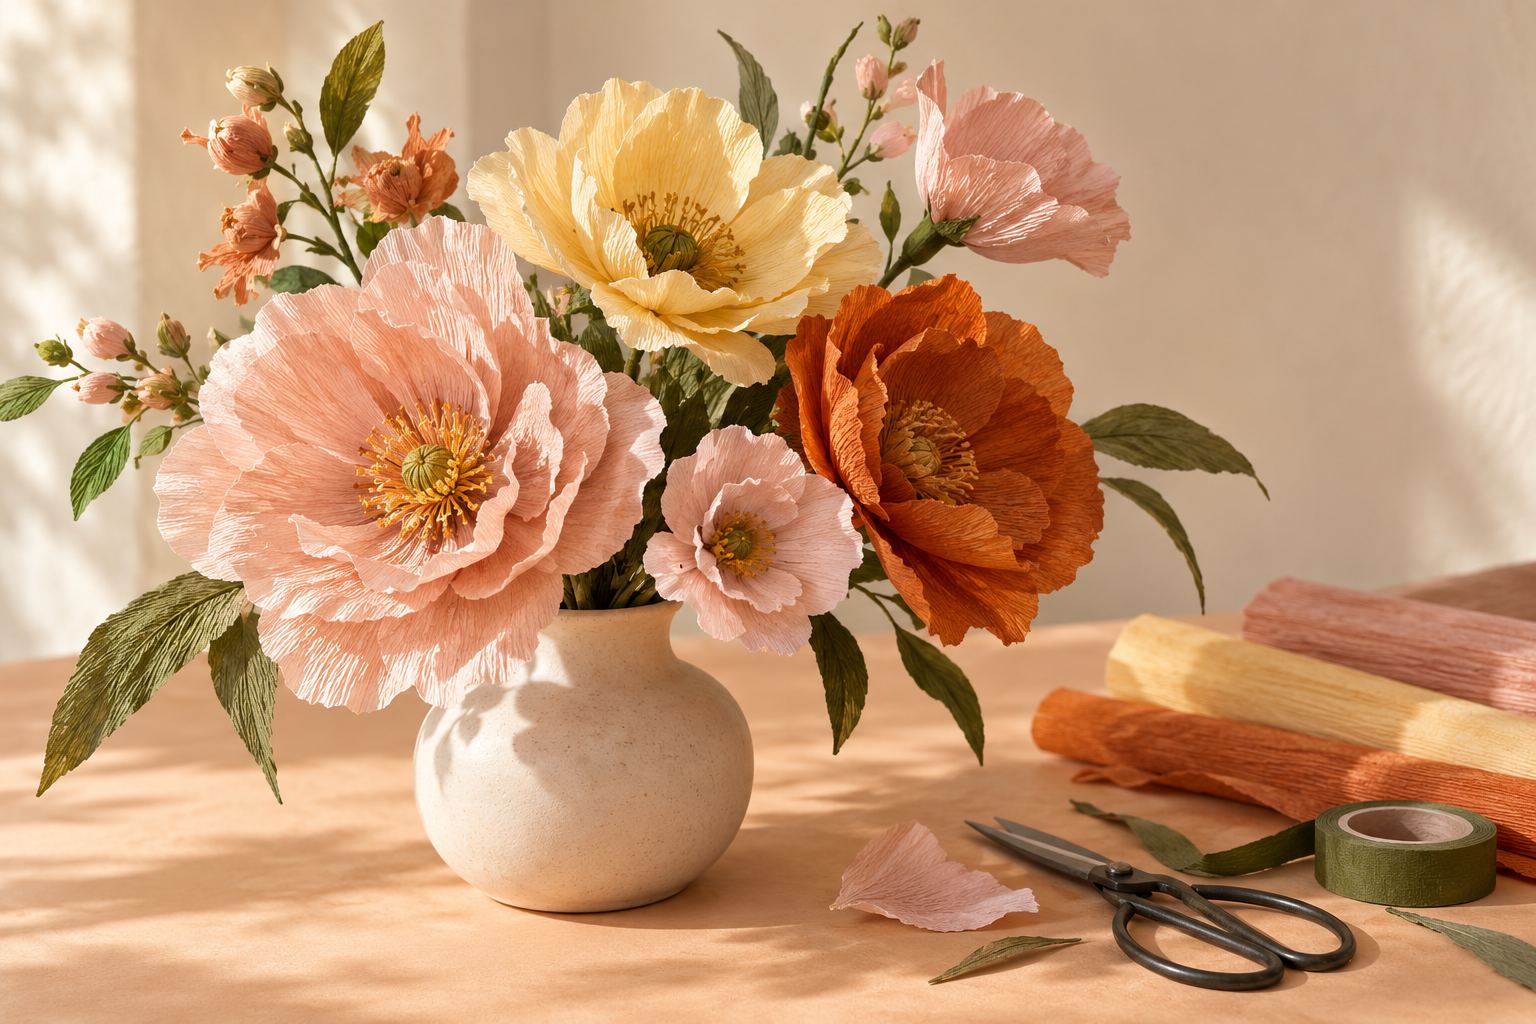
Paper flowers do not need to look perfectly real to feel special. Start with one generous bloom in a color you love, then make two more with slightly different centers. This approach keeps the bouquet relaxed and gives you room to learn as you go.
Images are styled inspiration, not step-by-step documentation. Your finished piece may look different.
ONE STEP AT A TIME
Let’s make it.
Cut a small family of petals
Print the petal template at 100% scale. Cut six narrow and six wide petals from crepe paper, with the paper grain running from the base to the tip. Keep the cuts simple; slight variations will make the flower feel more natural.
Make the center
Cut a strip of crepe paper about 2 inches wide and 6 inches long. Snip a short fringe along one long edge, leaving the other edge intact. Wrap the uncut edge around the top of the floral wire and secure it with a small amount of glue.
Give the petals some shape
Gently stretch the center of each petal across the grain to form a shallow cup. Leave the base narrow so it can wrap around the stem. Work slowly and avoid pulling hard enough to tear the paper.
Build the bloom
Add the narrow petals around the center, overlapping their bases. Follow with the wider petals, placing them between the first layer. Use small dots of glue and let each section hold before adding more.
Wrap and arrange
Cover the petal bases and the wire with floral tape, gently stretching the tape as you wind it. Let the glue dry according to its label. Arrange finished flowers in a dry vase and adjust the petals with your fingertips.
A LITTLE HELPFUL KNOW-HOW
Start with fewer petals. You can add another layer once the first layers feel balanced. Fold exposed wire ends inward and keep them covered.
Enjoy it. Take care of it.
Keep paper blooms dry and away from candles or other heat sources. Dust gently with a soft brush.