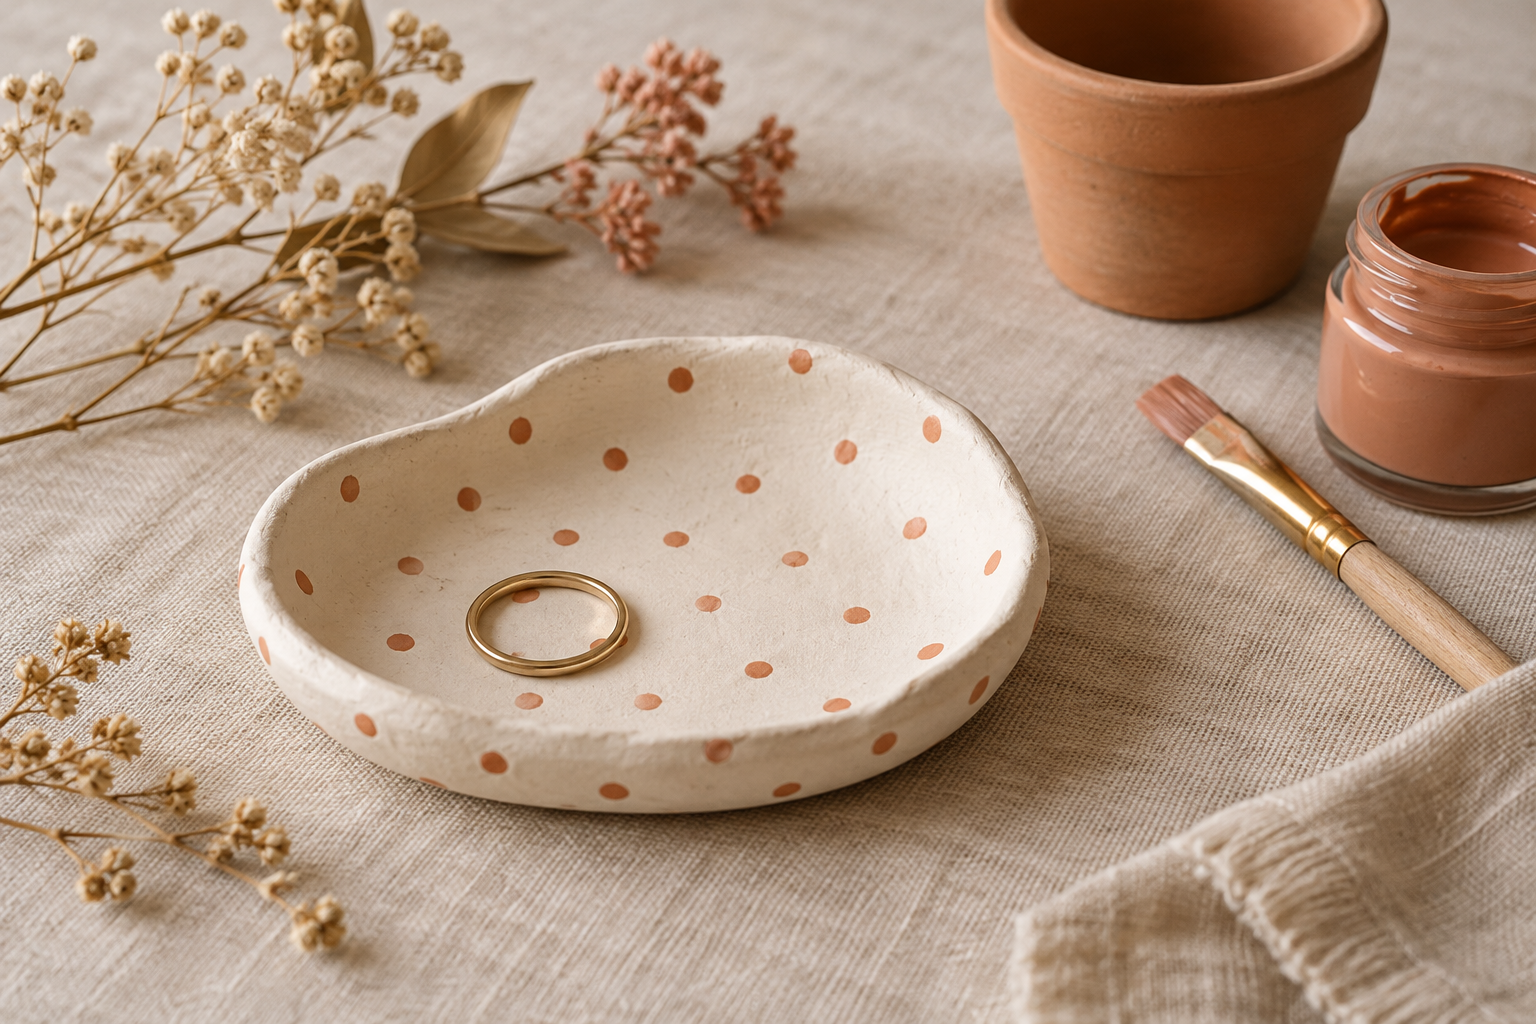
A catchall is a good first clay project because a slightly uneven rim can be part of the charm. Keep the shape shallow and the thickness even. The hands-on work is short, but the clay needs its full drying time before decorating.
Images are styled inspiration, not step-by-step documentation. Your finished piece may look different.
ONE STEP AT A TIME
Let’s make it.
Prepare a clean work surface
Cover the table with a craft mat. Knead a small amount of clay until it is workable, following the package directions. Keep the remaining clay sealed so it does not dry while you work.
Roll an even slab
Roll the clay to about 1/4 inch thick. Trace a small round container and cut around the outline with a blunt clay tool. Save the scraps in the sealed package. Smooth the cut edge with a slightly damp fingertip.
Lift the edges gently
Raise the outer edge with your fingers to create a shallow rim. Support the base so it stays fairly flat. Work around the shape gradually rather than making a sharp bend in one place.
Let it dry fully
Leave the dish on a flat surface for the full drying period specified by the clay manufacturer. Turn it only if the product instructions recommend it. Do not speed drying with an oven or heat source unless the clay specifically permits that method.
Add a quiet pattern
Once fully dry, use water-based craft paint to add a few small dots or a narrow border. Allow paint to dry according to its label. Place the dish on a protective pad if the underside feels rough.
A LITTLE HELPFUL KNOW-HOW
Active time is about 45 minutes; drying is additional and depends on the clay. Keep the dish small to reduce uneven drying.
Enjoy it. Take care of it.
For dry decorative storage only. Air-dry craft clay is not automatically food-safe or waterproof. Keep it away from food, standing water, and heat.